
How to Withdraw from Binance (Crypto & Fiat)
How to withdraw from Binance — crypto to an external wallet or fiat to your bank — plus the fees, limits, and security settings that protect your funds.
 Lucas Almeida 5 min read
 Key takeaways
- To withdraw, go to Wallet → Withdraw, choose the coin and network, paste the destination address, and confirm — matching the network is as critical on the way out as on the way in.
- Crypto withdrawals carry a per-coin network fee that varies by coin and network; fiat withdrawals to a bank have their own fee and processing time.
- Enable the withdrawal whitelist and 2FA before you withdraw, so a compromised account cannot drain funds to a stranger's address.
- Always double-check the destination address character by character — crypto transactions cannot be reversed once sent.
- Withdrawals are subject to daily limits based on your verification level, which you can see on your account page.
You withdraw from Binance in two main ways: send cryptocurrency to an external wallet, or move fiat to your bank account. Crypto withdrawals are the more common route — you pick the coin and network, paste the destination address, and confirm with 2FA. The fee and speed depend on the coin and network.
Two habits make a withdrawal safe: match the network exactly, and check the address character by character. Crypto cannot be reversed once sent.
Crypto vs. fiat withdrawal: what’s the difference?
Binance supports two kinds of withdrawal, and the choice depends on where the money is going.
| Crypto withdrawal | Fiat withdrawal | |
|---|---|---|
| Destination | An external wallet address | Your bank account |
| Cost | Per-coin network fee | Bank/fiat fee, varies by method |
| Speed | Minutes to an hour (network confirmations) | One to several business days |
| Reversible? | No | Sometimes, via bank channels |
If you are moving funds to self-custody — a wallet you control — use a crypto withdrawal. If you want cash in your bank account, use a fiat withdrawal.
One distinction worth keeping in mind: withdrawing to another exchange versus withdrawing to your own wallet.
- To another exchange. You are sending to an address the exchange controls. You usually need a memo or tag, and the receiving exchange credits the funds to your account there.
- To your own wallet. You send to an address whose private keys only you control. This is “taking custody” of your funds, and it is where larger, longer-term holdings belong.
Either way, the network and address rules are identical — match the network, check the address, include a memo if required. The only difference is whose keys hold the funds when they arrive.
Before you withdraw: lock down the account
Do these two things before moving any money, ideally as soon as you open the account.
- Turn on 2FA. Withdrawal requires two-factor authentication, so it should already be on. Use an authenticator app, not SMS.
- Enable the withdrawal whitelist. Add your own wallet addresses to the whitelist so withdrawals can only go to addresses you have approved. A hacked account cannot drain funds to a stranger’s address.
These two settings are covered in our security guide, and they matter more the larger your balance grows.
How to withdraw crypto step by step
Here is the exact flow for a crypto withdrawal.
Step 1: Open the withdrawal page
Log in and go to Wallet → Withdraw (or Fiat and Spot → Withdraw). Choose the cryptocurrency you want to move out.
Step 2: Choose the coin and network
Select the asset and the network. The network must match the receiving wallet’s address.
If your wallet gives you a TRC20 USDT address, withdraw USDT on TRC20 — not ERC20. Mismatched networks on the way out are just as dangerous as on the way in, and just as likely to lose funds.
Step 3: Enter the destination address
Paste the receiving address. If the coin requires a memo or tag (common with XRP, XLM, and some exchange deposits), add it too.
Then check the address character by character. This one check catches the address-swapping malware and copy-paste mistakes that cost people their funds.
Step 4: Enter the amount and review the fee
Enter the amount and read the withdrawal fee and the network on the confirmation screen. The fee is shown before you commit, so there are no surprises.
If it is your first withdrawal to this address, consider sending a small test amount first.
Step 5: Confirm with 2FA and email
Complete two-factor authentication and any email confirmation Binance requests. This is the step that stops someone who has only your password.
Step 6: Track the transaction
Once Binance broadcasts the withdrawal, you get a transaction ID (txid). Paste it into a block explorer to follow the transaction until it confirms in the receiving wallet.
Addresses, networks, and memo/tags explained
Most withdrawal mistakes come down to three details: the network, the address, and — for some coins — a memo or tag.
The network. The same coin can exist on many networks. USDT, for example, lives on Tron (TRC20), Ethereum (ERC20), BNB Smart Chain (BEP20), and several layer-2 networks. Each network has a different address, and the network you withdraw on must match the one your receiving wallet uses. Pick a network your wallet supports, and double-check it on the receiving end.
The address. Always paste the address fresh from the receiving wallet, then compare the first and last few characters by eye. Malware exists that swaps a copied address for an attacker’s, and the visual check catches it.
The memo or tag. A few coins — including XRP, XLM, EOS, and ATOM — use a memo or destination tag alongside the address, especially when you are withdrawing to another exchange. If the receiving side requires a memo and you leave it blank, the funds can be lost or stuck in a shared wallet. Check whether the destination asks for one; if it does, include it exactly.
| Coin | Needs a memo/tag? |
|---|---|
| XRP | Yes — destination tag for exchange deposits |
| XLM | Yes — memo for exchange deposits |
| EOS, ATOM, BNB (some cases) | Often — check the receiving side |
| BTC, ETH, USDT, most ERC20/TRC20/BEP20 | No — address alone is usually enough |
When in doubt, send a small test amount first and confirm it arrives before moving the full balance.
How to withdraw fiat to your bank
Fiat withdrawals work differently. Instead of a network and address, you select your bank account and currency.
- Add your bank account in the withdrawal settings if you have not already.
- Choose the fiat currency you hold (for example, USD or EUR).
- Enter the amount and review the fee and processing time.
- Confirm with 2FA and any bank verification.
Fiat withdrawals typically take one to several business days, and weekend or holiday processing can add time. Fees vary by country and payment method, and are shown before you confirm.
Withdrawal fees, limits, and times explained
Three numbers shape every withdrawal, and all of them are visible in your account.
- Fees. Crypto withdrawal fees vary by coin and network — BTC, ETH, and stablecoins all cost different amounts, and the same coin can differ across networks, as shown on Binance’s withdrawal fee schedule. Fiat fees depend on the bank method.
- Limits. Daily withdrawal limits are tied to your verification level, as described in Binance’s verification FAQ. Higher KYC levels unlock higher limits.
- Times. Crypto withdrawals are usually broadcast in minutes, then wait on network confirmations. Fiat takes banking days.
To give you a concrete sense of how the per-network differences play out, here is the ranking that has held steady through recent fee changes — but treat Binance’s live withdrawal schedule as the authoritative number for your specific coin and network:
| Asset | Network | Relative withdrawal cost |
|---|---|---|
| USDT | BEP20 (BNB Smart Chain) | Lowest — a few cents |
| USDT | TRC20 (Tron) | Low — around $1 |
| USDT | ERC20 (Ethereum) | Highest — tracks Ethereum gas, can be several dollars |
| BTC | Lightning | Near-zero |
| BTC | Bitcoin | Small flat fee |
| ETH | ERC20 (Ethereum) | Tracks Ethereum gas |
Two things matter more than any single figure. First, these are flat fees, not percentages — a $10 and a $10,000 withdrawal of the same coin cost the same, so small, frequent withdrawals are the expensive habit. Second, the network you pick can swing the cost tenfold: moving USDT on BNB Smart Chain costs a fraction of the same amount on Ethereum, but only if the receiving wallet supports that network. Check both before you confirm.
On limits: your daily withdrawal limit is tied to your verification level. Basic KYC (Verified) carries lower limits, and Verified Plus raises them. As with fees, Binance shows your exact limit on the account page rather than publishing one universal number, and it varies by region. Fees and minimums are also adjusted periodically, so always read the numbers on the withdrawal screen for your specific coin and amount before confirming — that screen is the source of truth.
What if a withdrawal goes wrong?
Because crypto is irreversible, the goal is to prevent mistakes rather than recover from them. But if something does go wrong:
- Wrong network or address? There is usually no recovery. This is why the character-by-character check matters.
- Still pending after a long time? Check the txid on a block explorer. If the network is congested, confirmations simply take longer.
- Suspicious activity you did not initiate? Freeze your account and contact Binance support immediately, and change your password.
For larger amounts, the safest path is a test withdrawal first: move a small amount, confirm it arrives, then move the rest.
The bottom line
Withdrawing from Binance safely comes down to three habits: match the network, check the address character by character, and protect the account with 2FA and a withdrawal whitelist before you ever click confirm. Crypto withdrawals are irreversible, so the time to be careful is before you send, not after.
💡 Don't have a Binance account yet? Sign up now — enter the referral code BN2688.
For the bigger picture on how much moving money costs, see our guide to Binance fees.
Don't have a Binance account yet?Sign up nowenter the referral codeBN2688
Frequently asked questions
How much does it cost to withdraw from Binance?
How long does a Binance withdrawal take?
What is the withdrawal whitelist and why should I use it?
Is there a minimum or maximum withdrawal amount?
Can I reverse a Binance withdrawal if I made a mistake?
Should I withdraw all my crypto off Binance?
Editor-in-Chief & Lead Researcher
Editor of MyCryptoStart. Independent researcher of cryptocurrency exchanges, focused on fees, security, KYC, and onboarding — publishes step-by-step guides in plain English for beginners.
View author page →Some links on this page are affiliate links: we may earn a commission at no extra cost to you. This content is educational and is not financial, investment, or legal advice. Affiliate disclosure · Disclaimer.
Continue reading
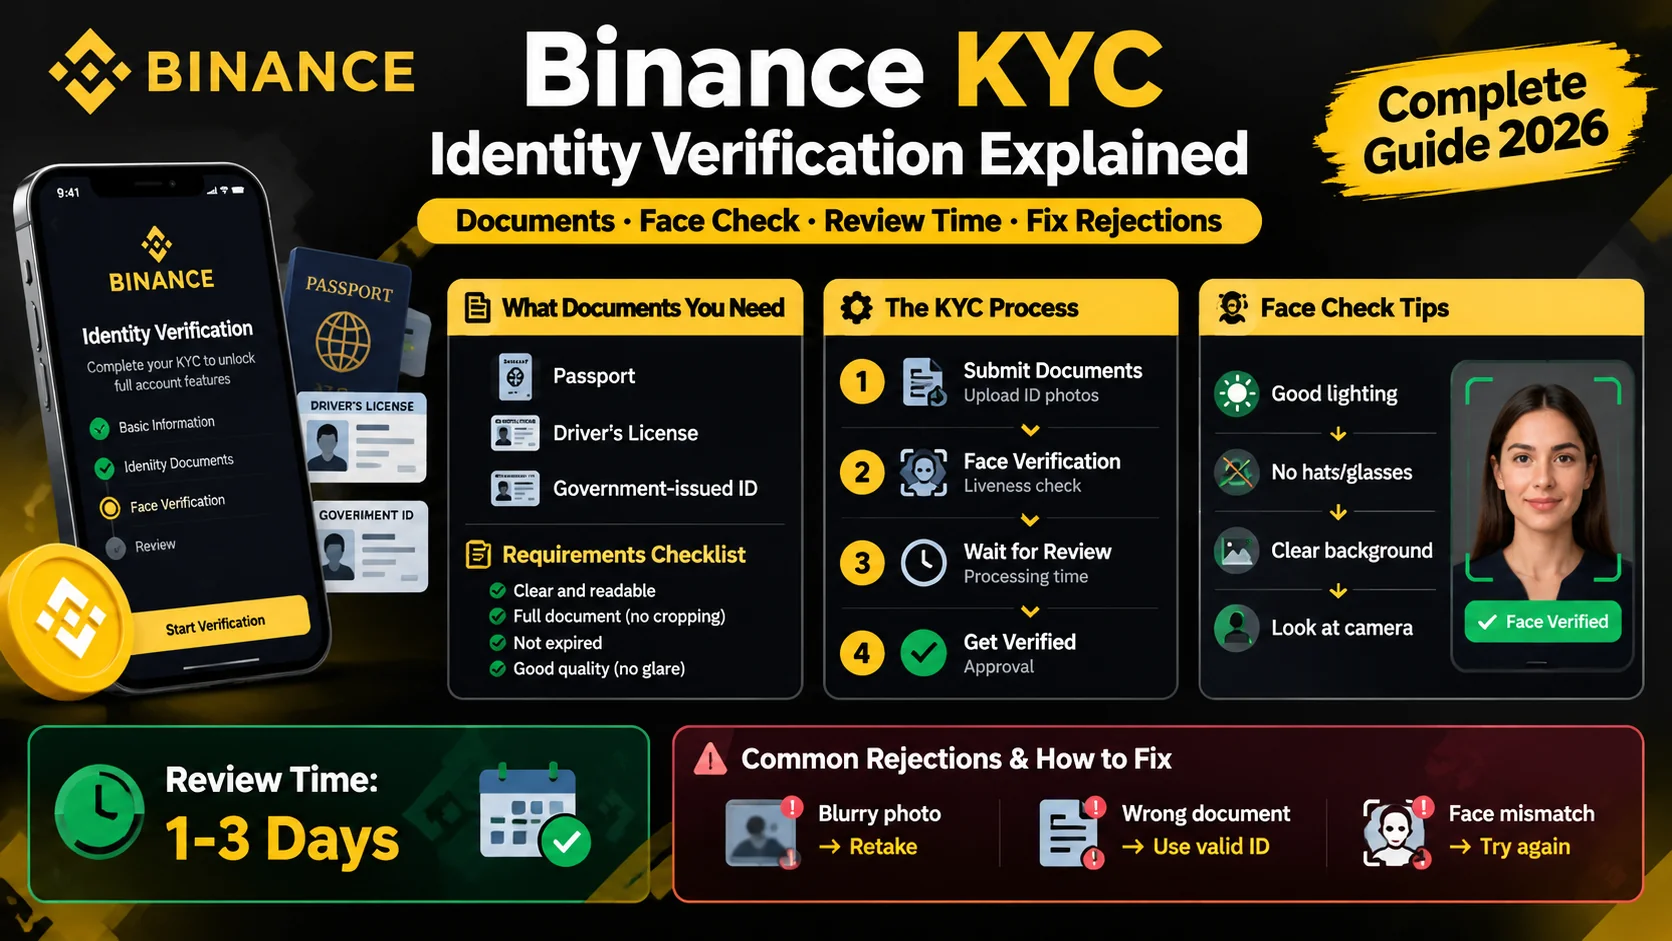
Binance KYC: How Identity Verification Works
Binance requires KYC before you trade. Learn the documents you need, how the face check works, how long review takes, and how to fix rejections.
Binance P2P: Buy and Sell Crypto Peer-to-Peer
How Binance P2P works — buy and sell crypto directly with other users, with zero fees and an escrow system that holds funds until payment is confirmed.
How to Create a Binance Account (2026 Guide)
Create a Binance account in about five minutes: sign up with email or phone, verify KYC, and turn on 2FA. Step-by-step guide for beginners.